
Artificial turf is an excellent choice for homeowners looking to create a beautiful, low-maintenance lawn that stays green all year round. With the right tools and guidance, installing artificial turf in your backyard can be a rewarding DIY project. In this step-by-step guide, we’ll walk you through the process of installing artificial turf to transform your outdoor space.
Measure and plan your area
Before you begin, measure the area where you want to install the artificial turf. This will help you determine how much material you’ll need. Sketch out your plan, noting any existing features like trees, walkways, or flower beds that you’ll need to work around.
Remove existing lawn and vegetation
Using a sod cutter or a shovel, remove the existing grass and any other vegetation from the area. You’ll need to dig down about 2-4 inches to create a level surface for the artificial turf installation.
Prepare the base
The base is crucial for ensuring proper drainage and a smooth, level surface for your artificial turf. Start by spreading a layer of crushed stone or gravel (typically 3-4 inches deep) over the entire area. Use a compactor or a hand tamper to compact the base material. This will create a firm and stable foundation for your artificial grass.
Install weed barrier fabric
Lay a layer of weed barrier fabric over the compacted base to prevent weeds from growing through your artificial turf. Secure the fabric with landscape staples or fabric pins, overlapping the edges by a few inches to ensure complete coverage.
Roll out the artificial turf
With the base prepared, roll out the artificial turf across the area, ensuring that the grass fibers are facing in the desired direction. Leave the turf to settle for a few hours or even overnight to help remove any creases or wrinkles.
Trim and join the turf
If you need to join multiple pieces of artificial turf, use a utility knife to trim the edges, ensuring a precise and tight fit. Place the turf pieces edge-to-edge without overlapping and secure them together with specialized turf seam tape and adhesive.
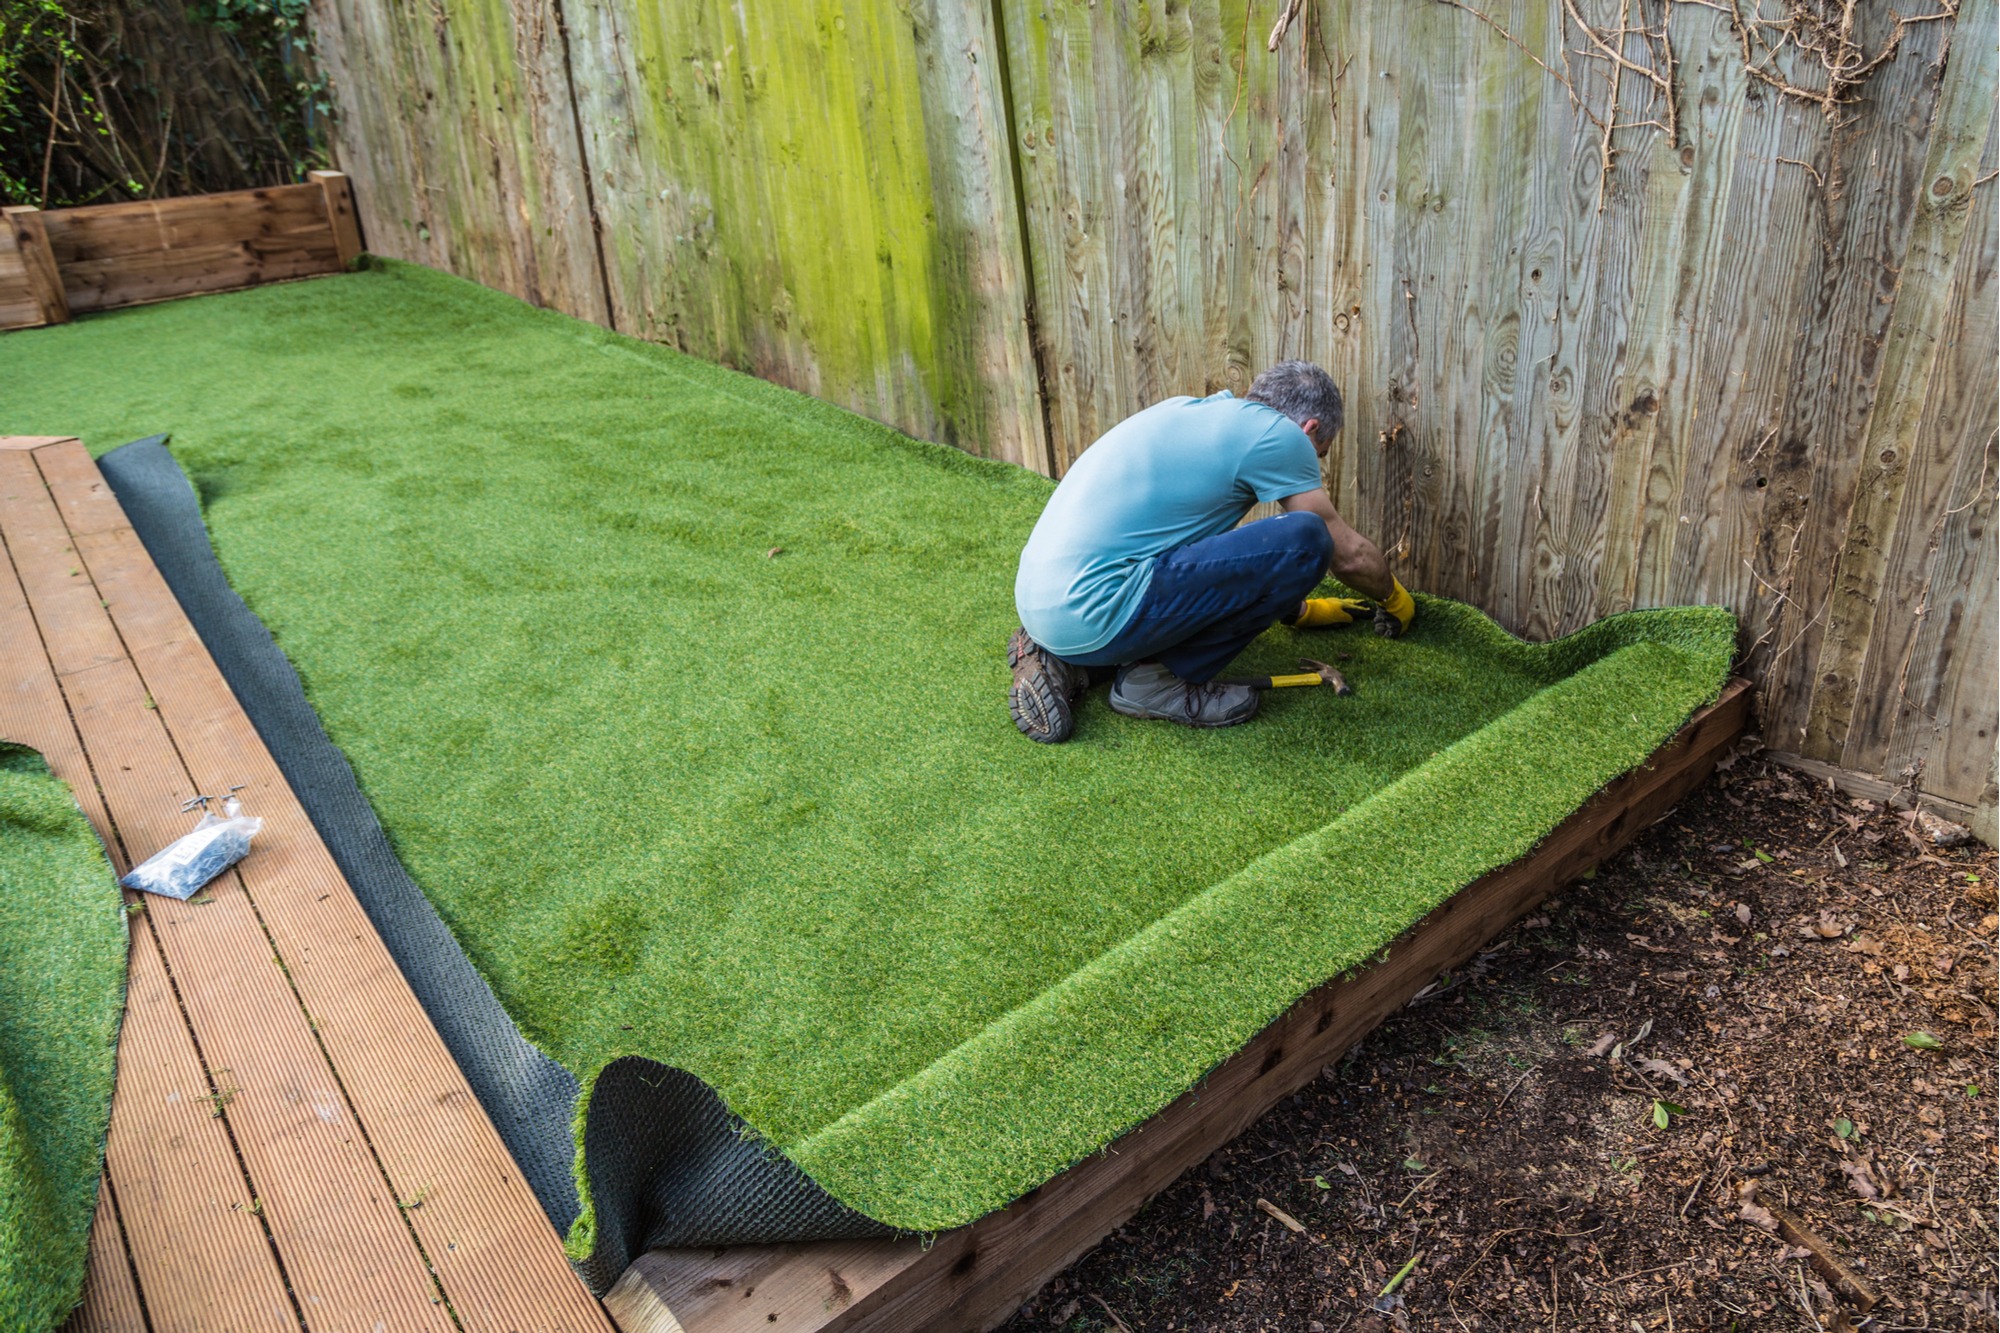
Secure the turf
Using landscaping staples or turf nails, secure the artificial turf to the ground. Start at the corners and work your way inwards, placing the staples or nails approximately every 12-18 inches along the edges and throughout the interior of the turf.
Add infill material
Infill material, such as silica sand or crumb rubber, helps to weigh down the artificial turf and keep the grass fibers upright. Use a drop spreader or a shovel to evenly distribute the infill across the turf. Use a stiff-bristle broom or a power brush to work the infill into the turf, brushing against the grain of the grass fibers.
Final touches
After the infill is in place, give your artificial turf a final brushing to lift the grass fibers and create a natural-looking appearance. Trim any excess turf along the edges, and install edging or borders, if desired.
By following these steps, you can successfully install artificial turf in your backyard and enjoy a beautiful, low-maintenance lawn that will last for years to come. For more information on artificial grass